Choose the Delivery Experience
From simple placement to full setup, we’ve got you covered.
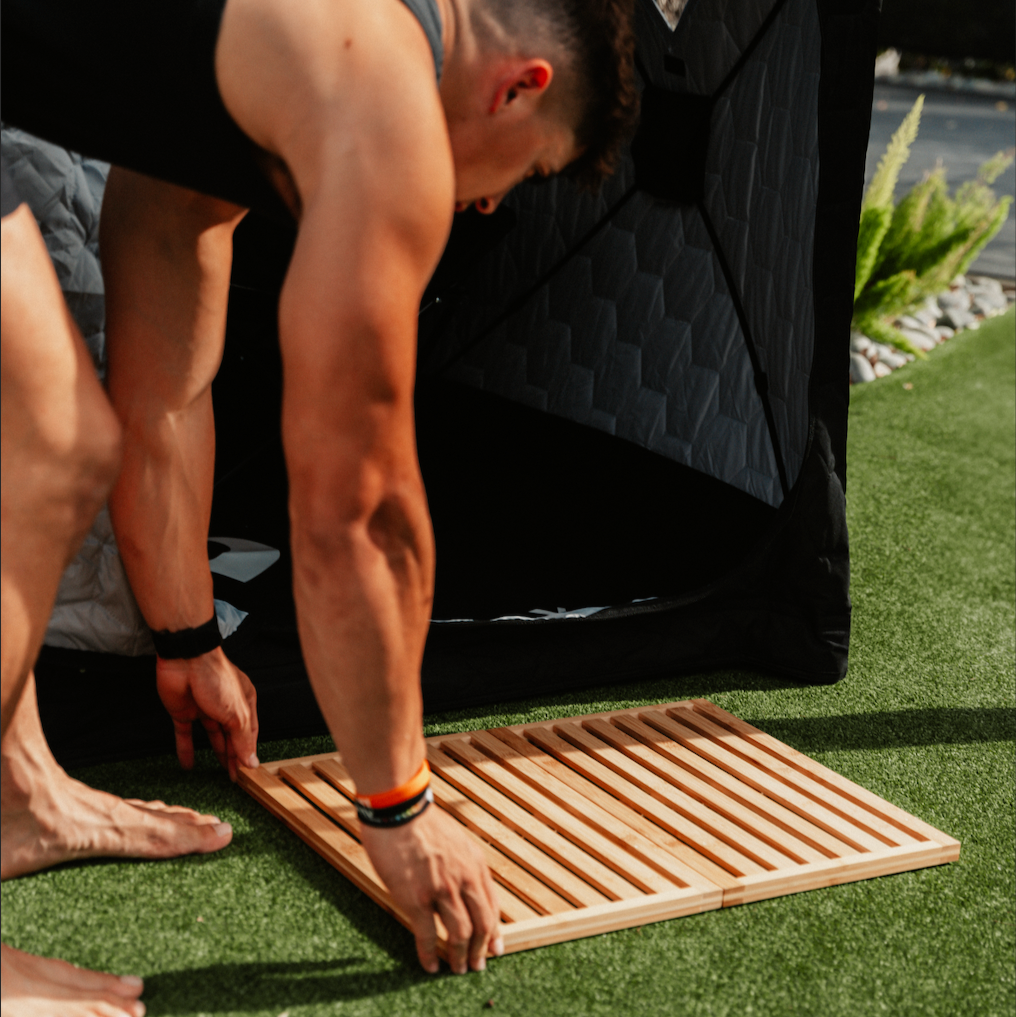
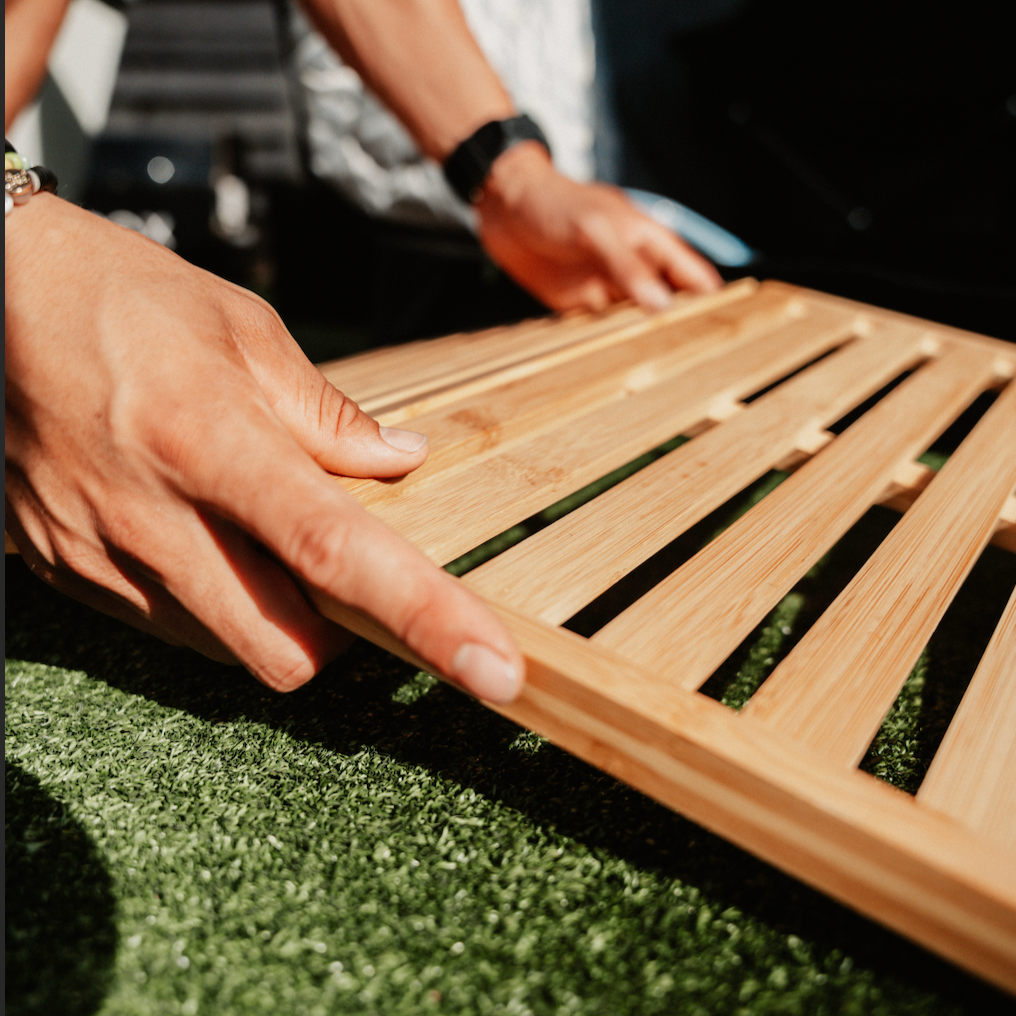
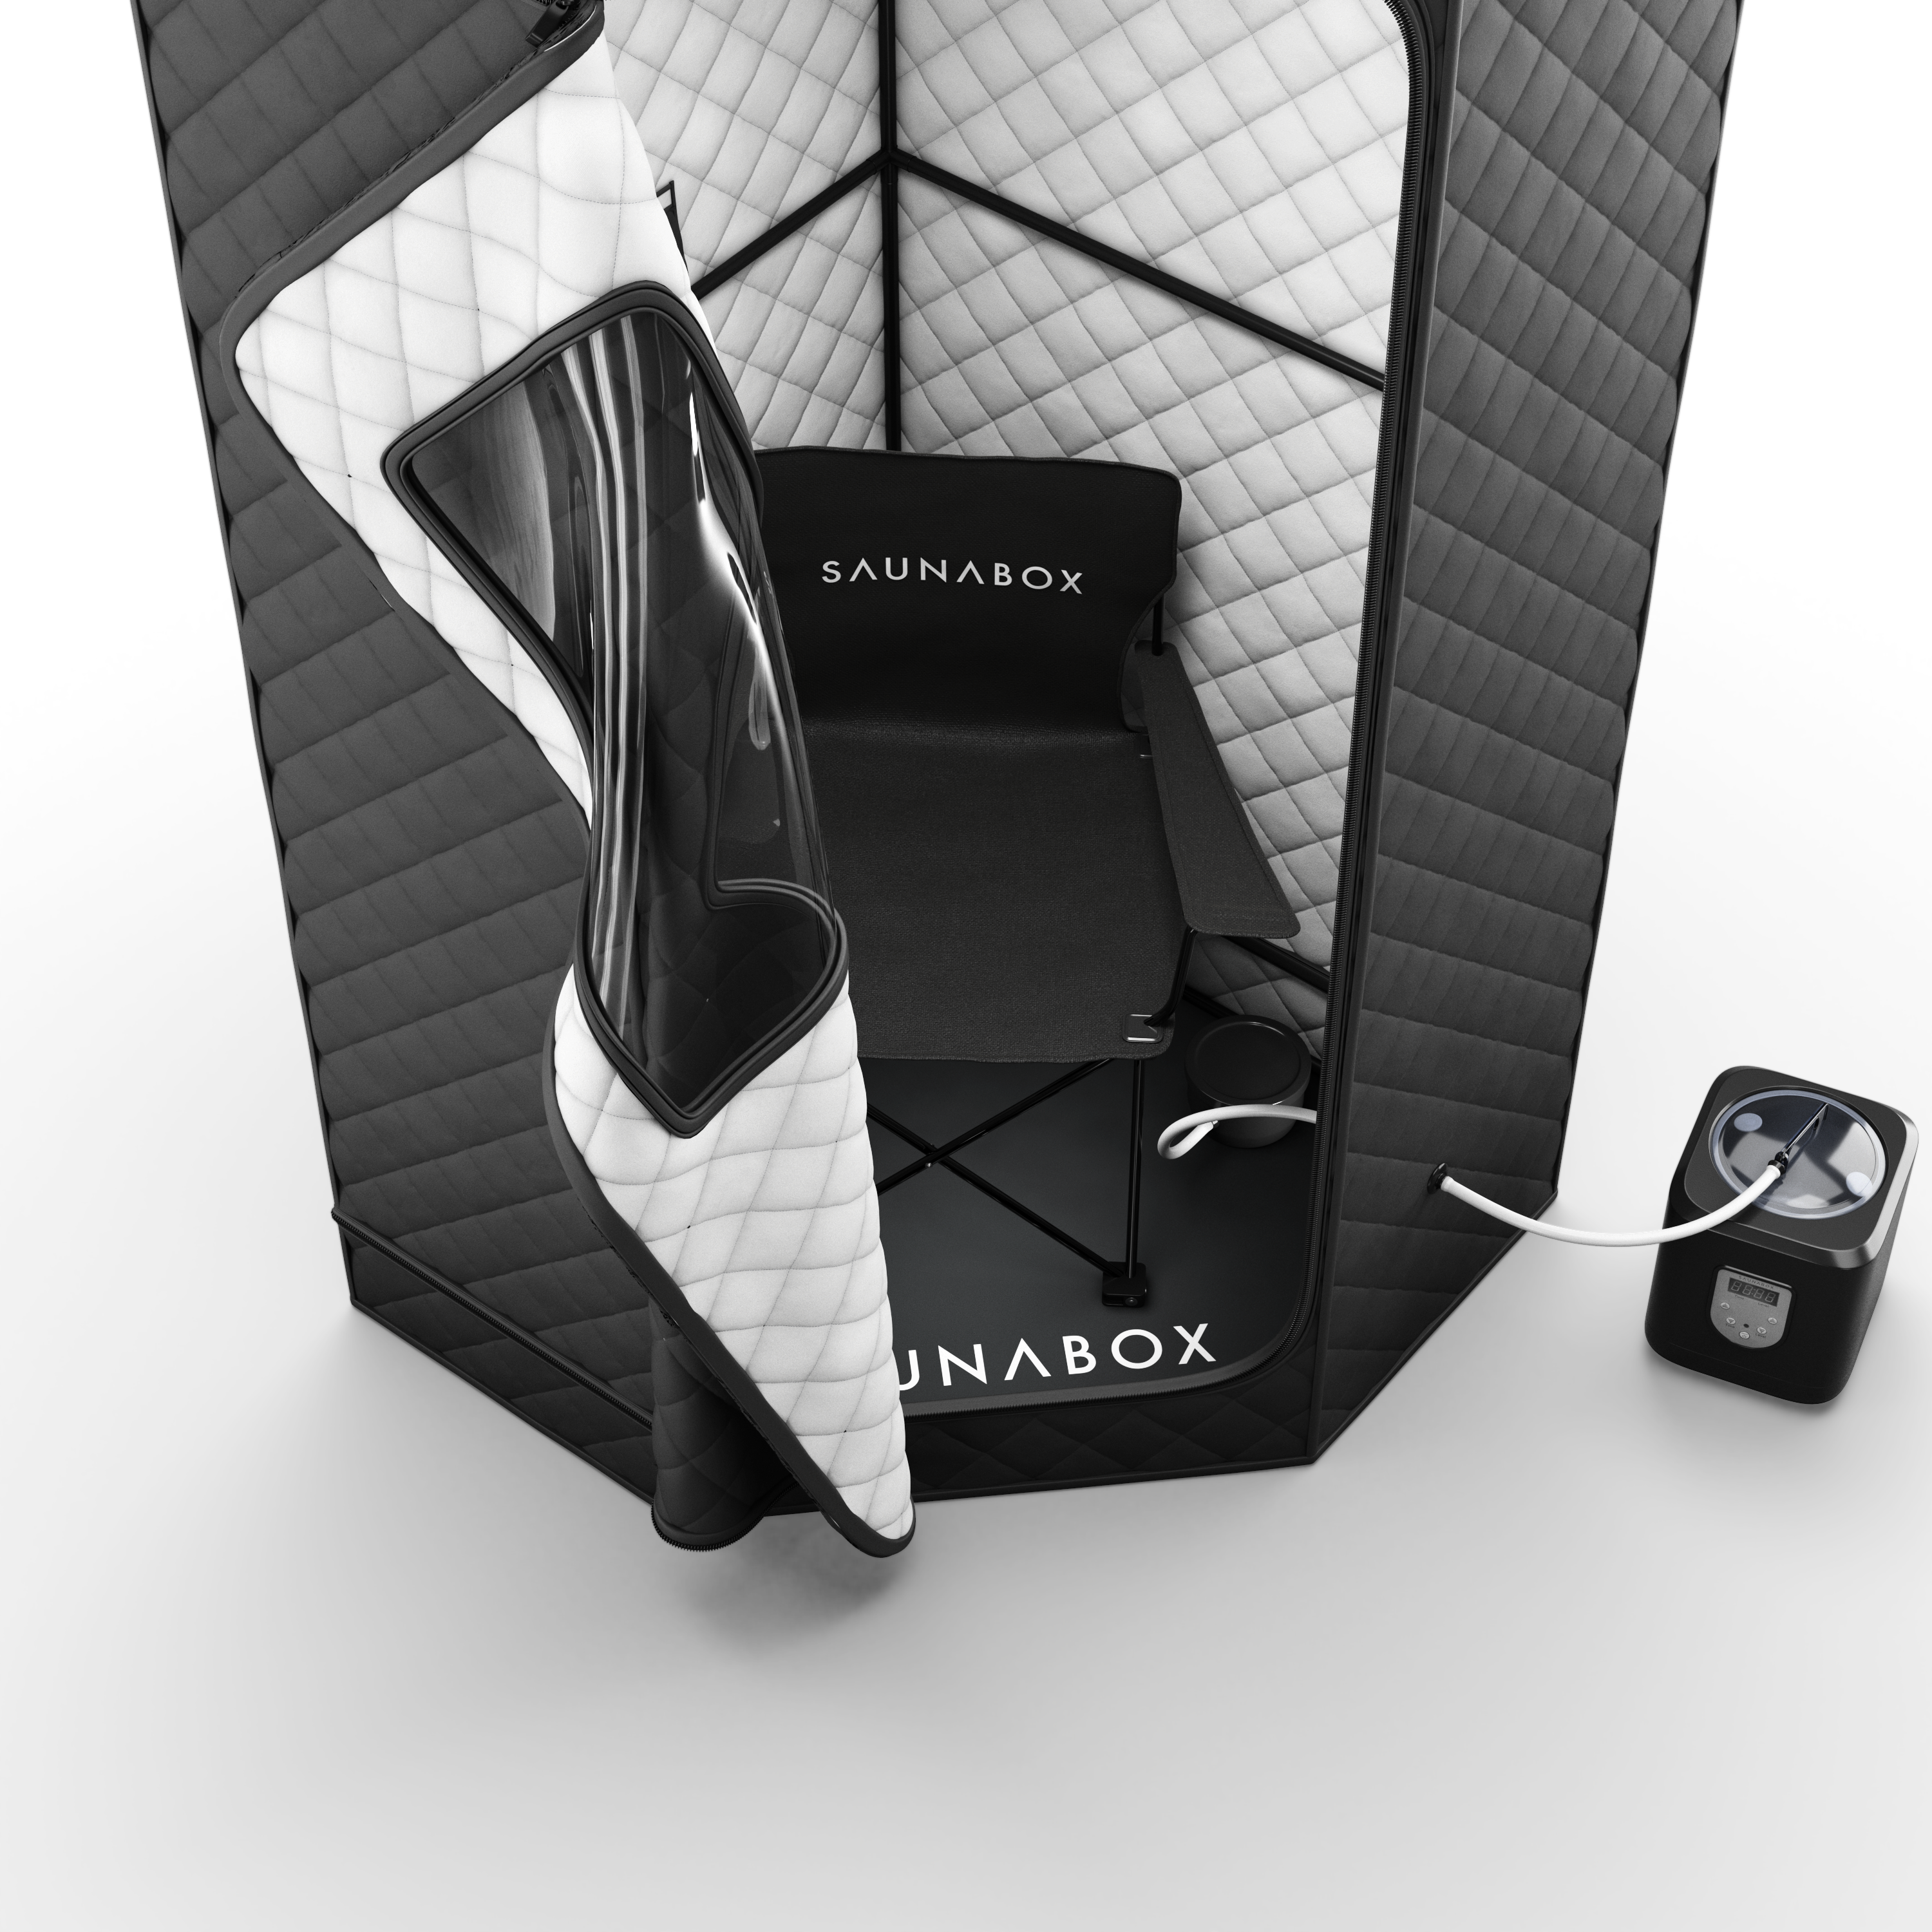
For the ultimate hands-off experience, our White Glove Delivery includes full professional assembly, so your sauna is ready to use right away. Handled by our trained 2-person teams with a scheduled 4-hour appointment window and customer signature at delivery.
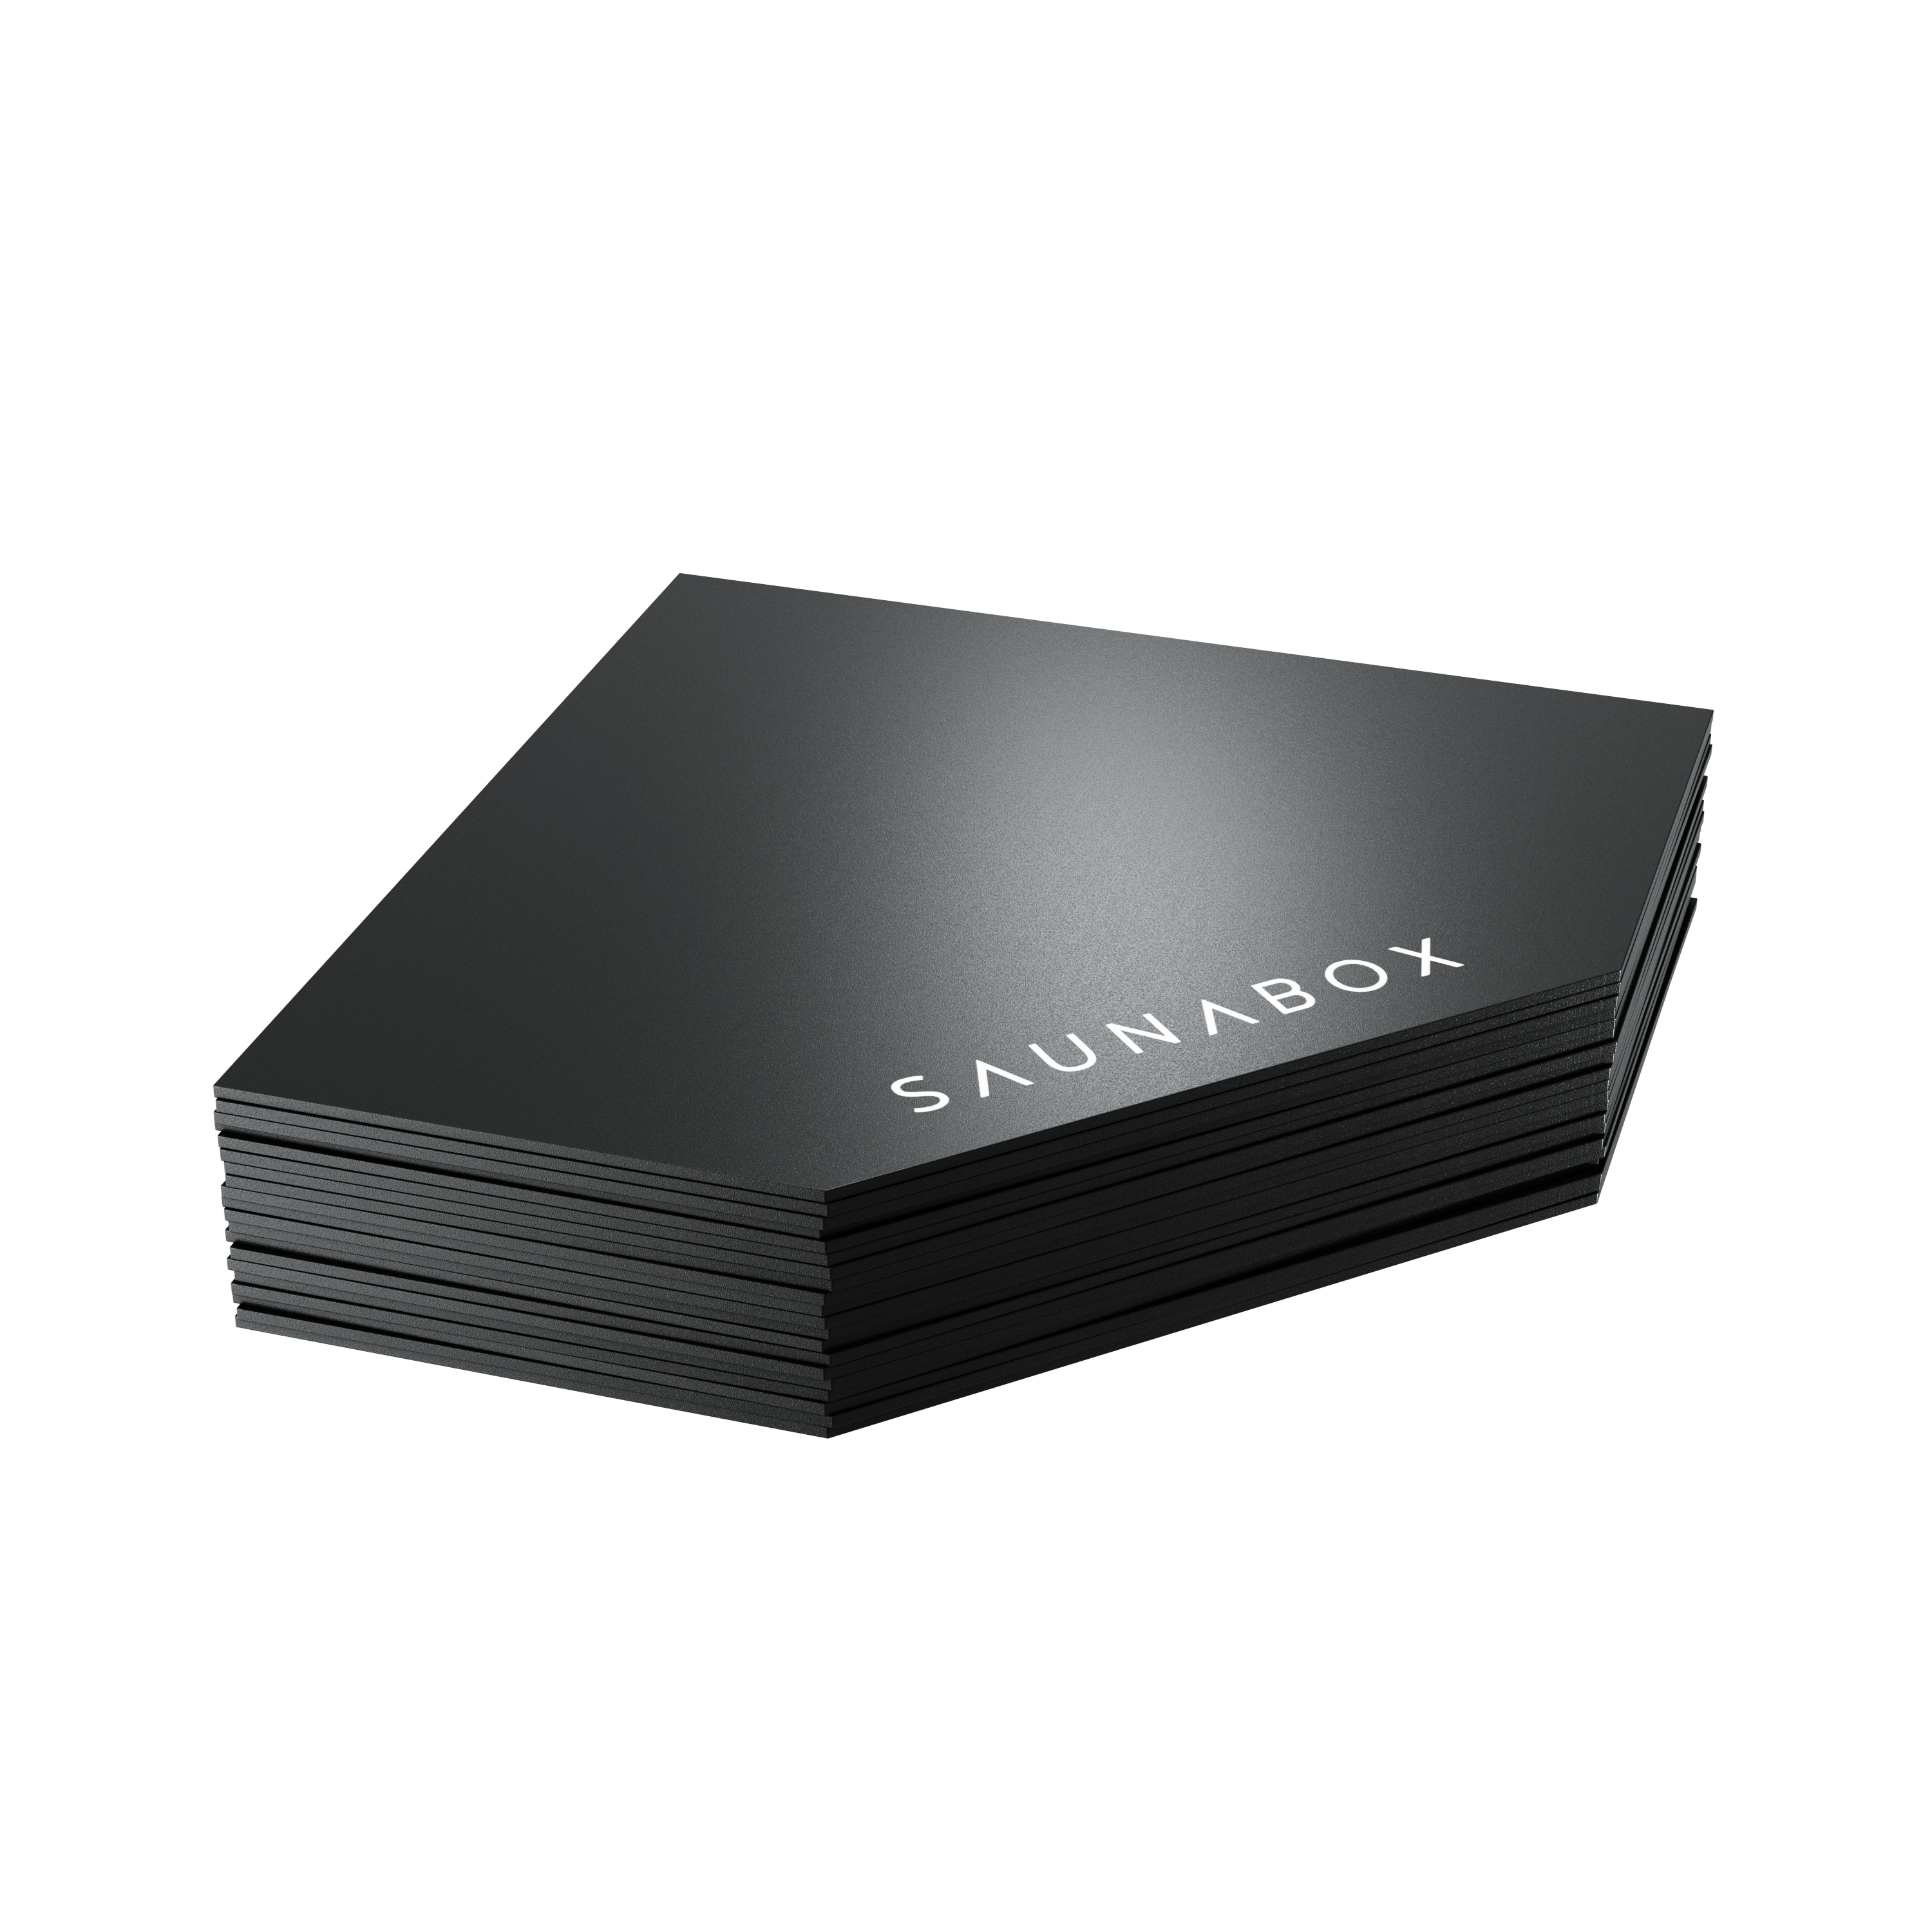
Our Room of Choice Delivery ensures your Solara is safely carried into your home (including stairs and apartments), placed exactly where you want it and unpacked —assembly not included.